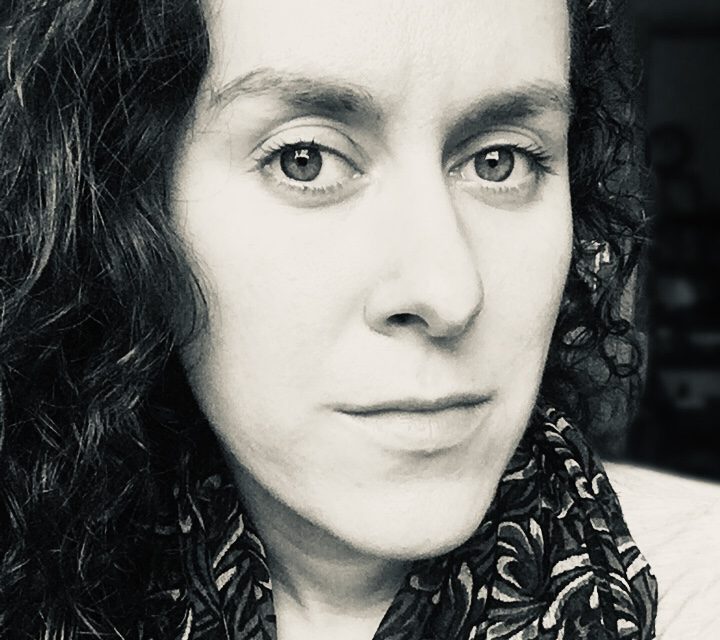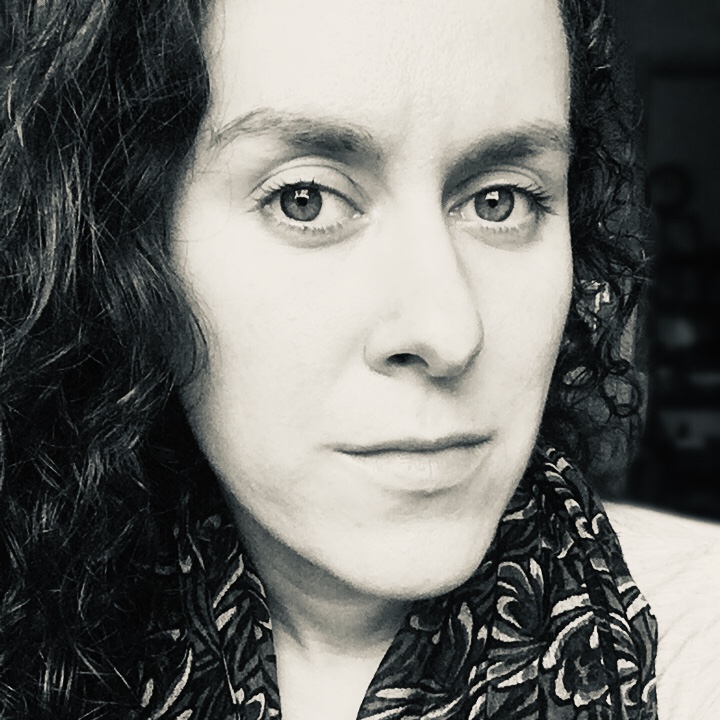
Assistant Editor Jess Jelsma Masterton: At one time or another, most authors will need a head shot. You could be publishing a piece with an online venue, building your author website, providing a photo to an organization that has recently awarded you a prize or a residency—you name it!
If you have the funds to hire a professional photographer (or better yet, have a friend or family member who dabbles in the art), then you’re off to a great start. The photographer will snap your picture, do any necessary tweaks and retouching in Adobe Lightroom or Photoshop, and you’ll (hopefully) be presented with the high-resolution photo of your dreams. But what about those of us who don’t have access to a professional photographer and/or are not literate in photo editing? More importantly, what are literary magazines and organizations looking for when they request a head shot?
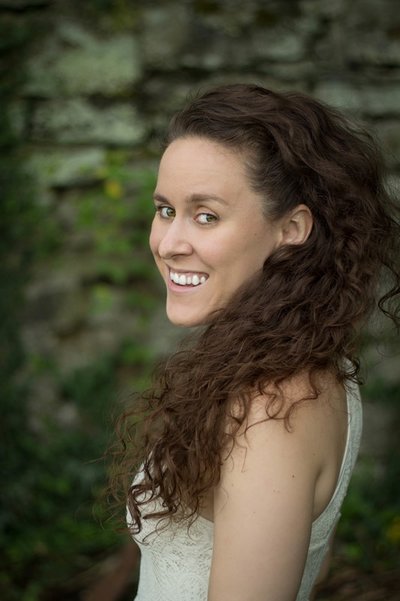
Here at the CR, when we accept a piece for our miCRo series, we ask for an author photo that is “high resolution, appropriate for web, with your face in the center; head shots are best.” In a nutshell that means that a) the photo file should be of a reasonable size (be sure you’re sending us the largest file size possible; a thumbnail will look blurry and pixelated when we size it for publication), and b) the photo should be as closely framed on your face as possible (rather than a full-body shot, send us something from the shoulders up so we can see what you look like!). Check out this post on TechSmith blog for a more in-depth explanation of what hi-res is and why it’s important.
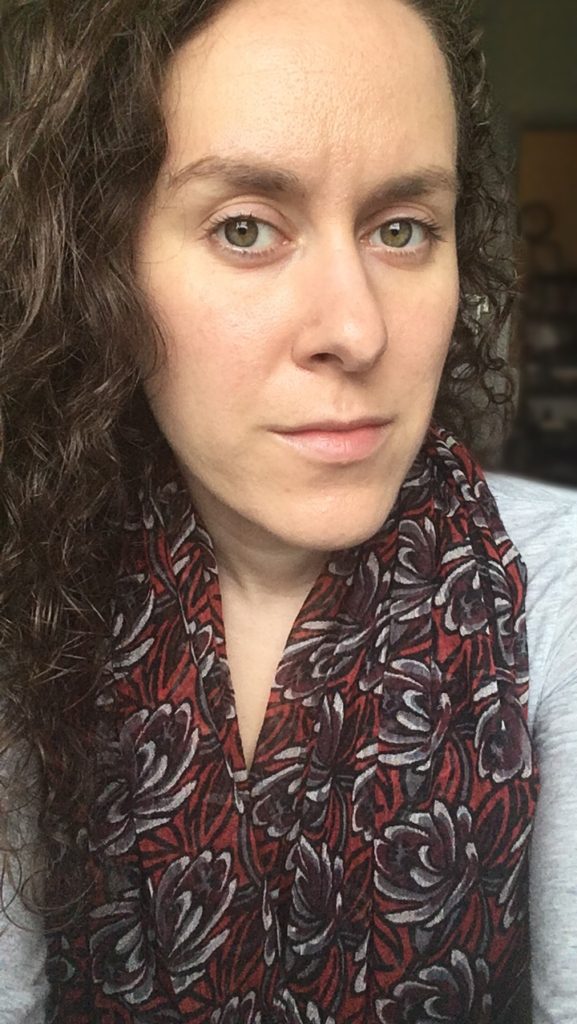
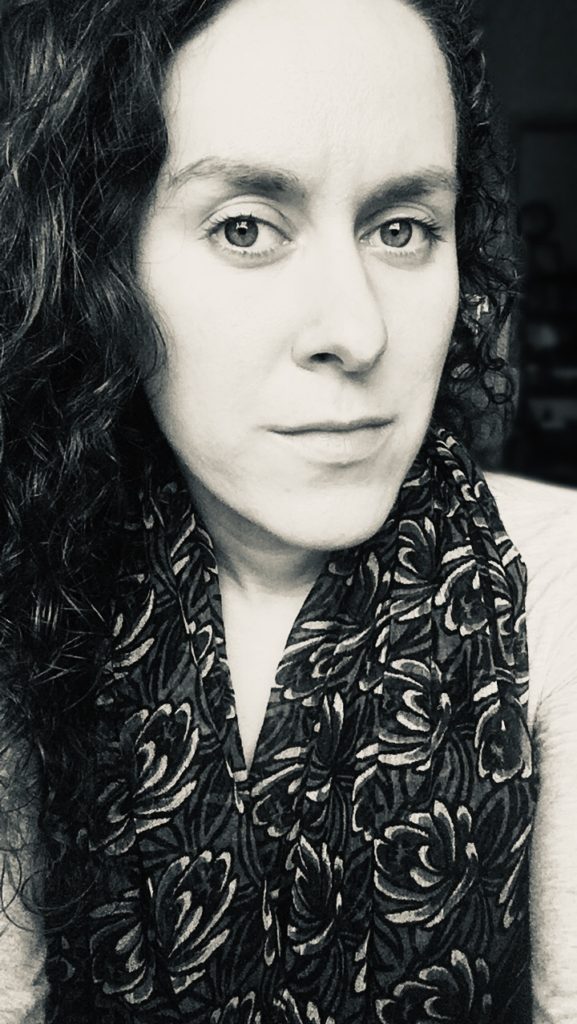
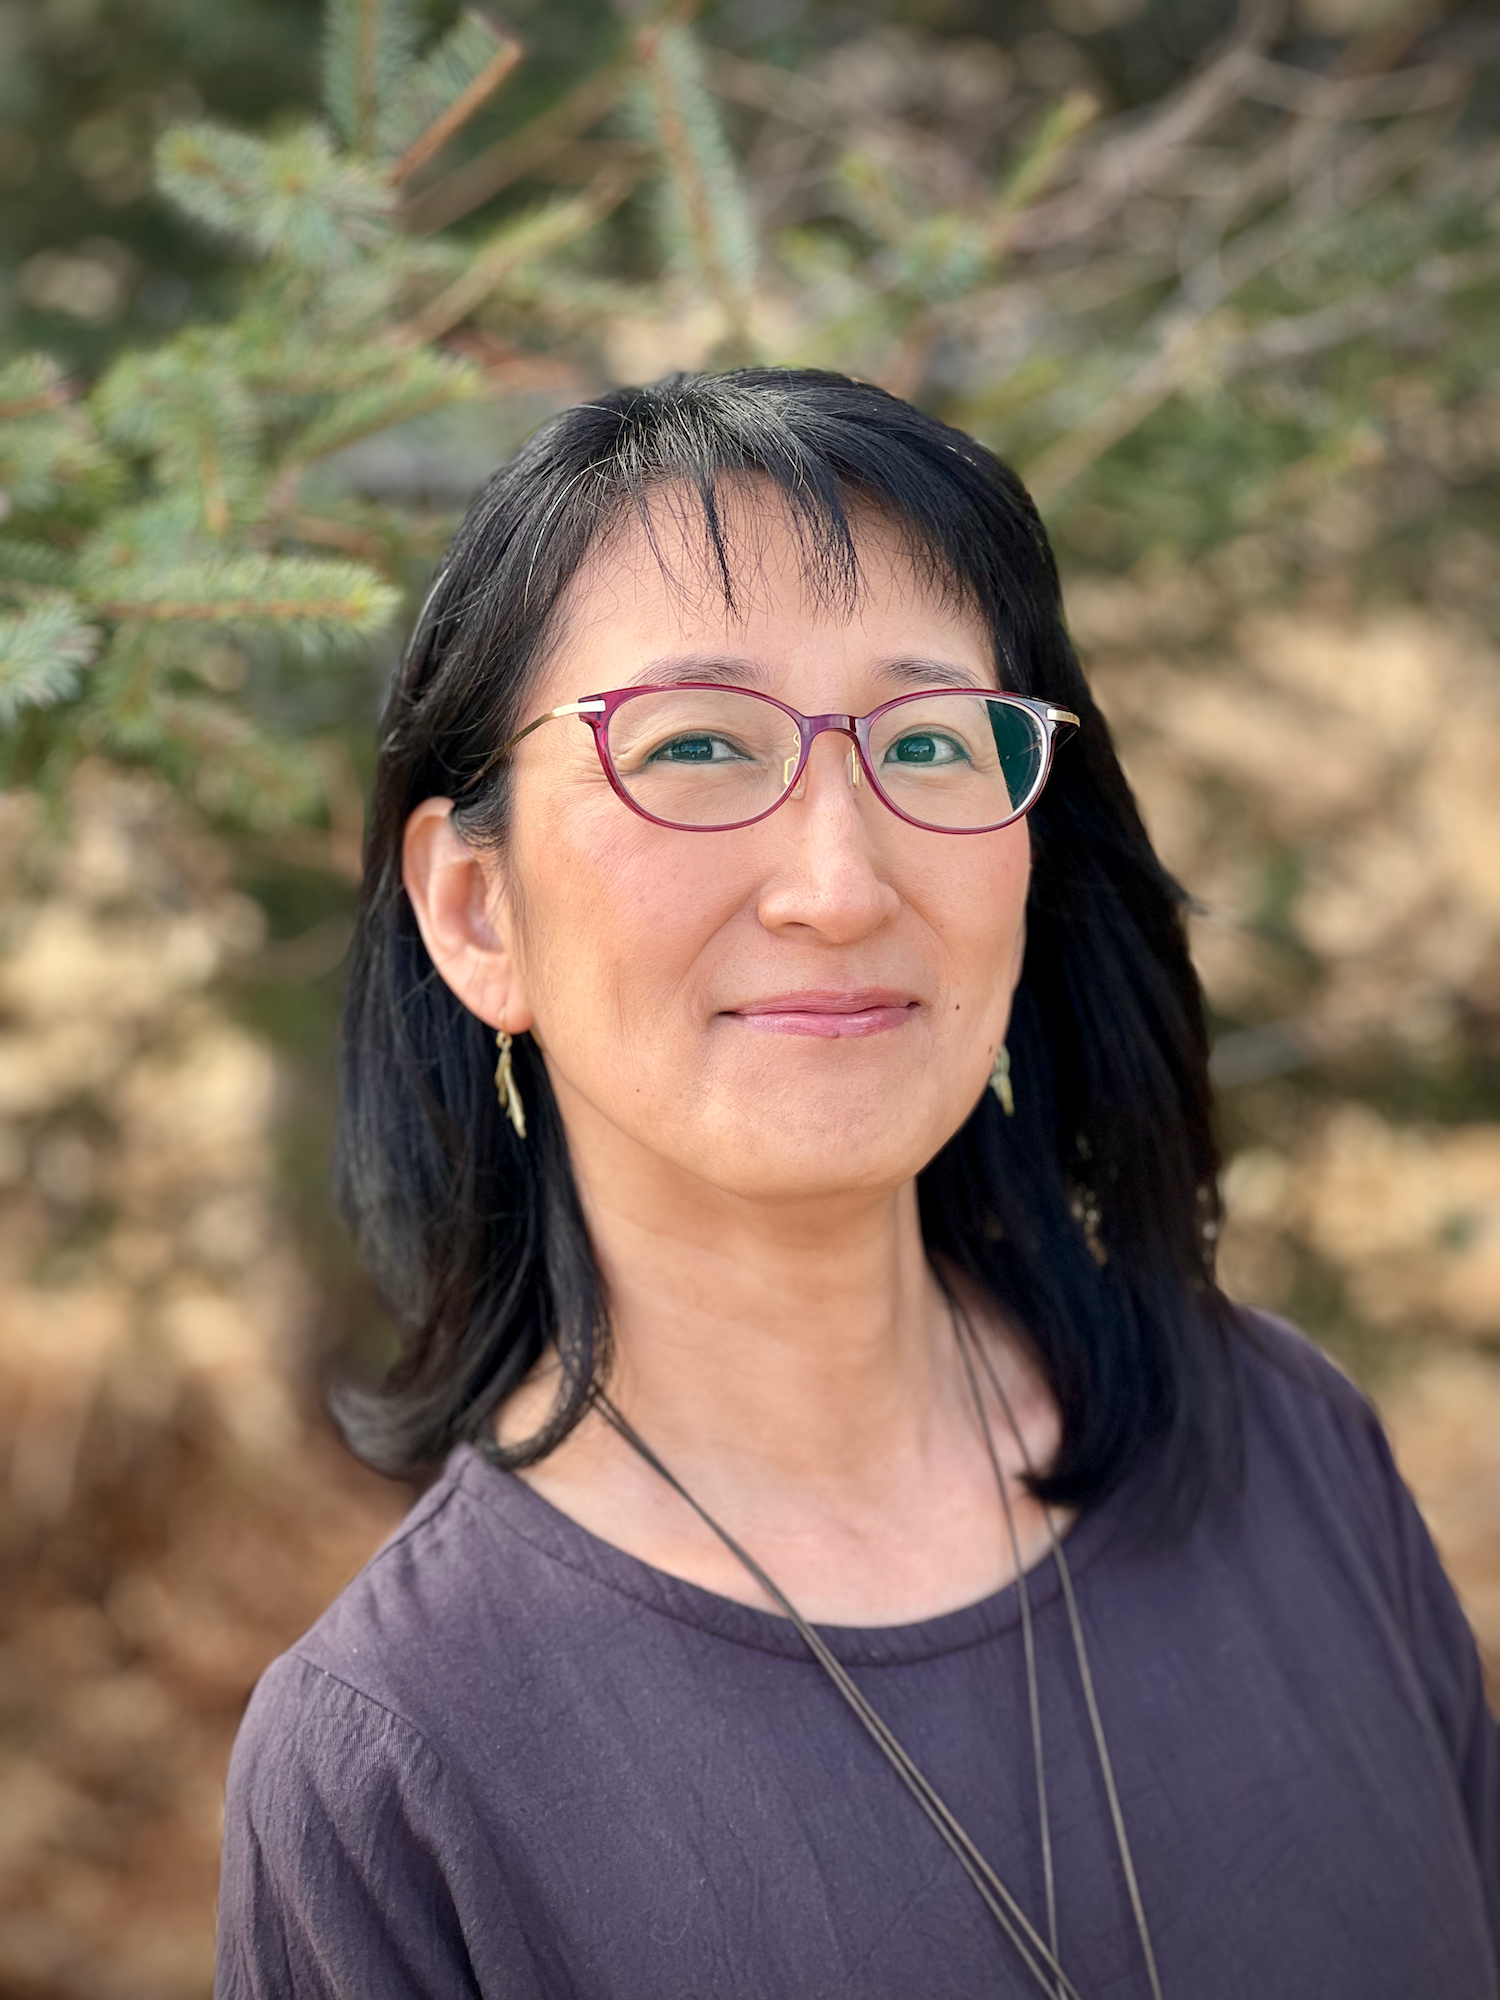
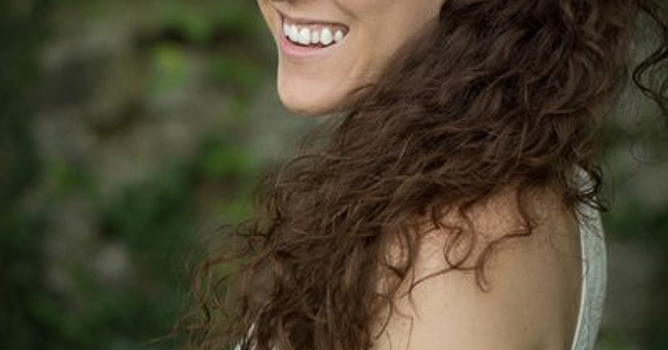
If you’ve hired a professional photographer, you should be set in terms of photo resolution, but you might need to crop a picture to turn the image into a true head shot. This is especially true for photos taken in a portrait rather than landscape format. For example, while I use the second photo in this post on my website’s About page, it would not be the best choice for a head shot due to its shape. When publications are linked on social media sites such as Twitter and Facebook, those platforms’ algorithms often pull a square or rectangular part of the author’s image, which means the viewer might be left with something strange like this:
To avoid this, the best bet is to send an author photo in a square or landscape format with your face at the center, such as this one of writer and UC instructor Matt Jones, shot by yours truly:
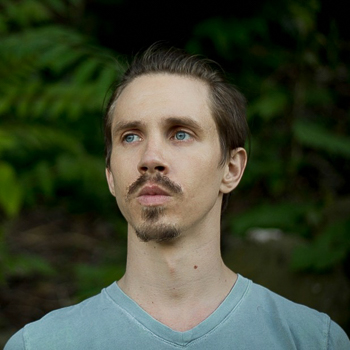
While the photos above were both taken with a DSLR camera and then edited in Lightroom, you can take your own professional-looking head shots using your smartphone. Many new phones have Portrait mode, but for those that don’t, you can also download the Instagram app, click on the camera icon at the top left, and use Focus mode to achieve that blurred background (called bokeh) we all crave.
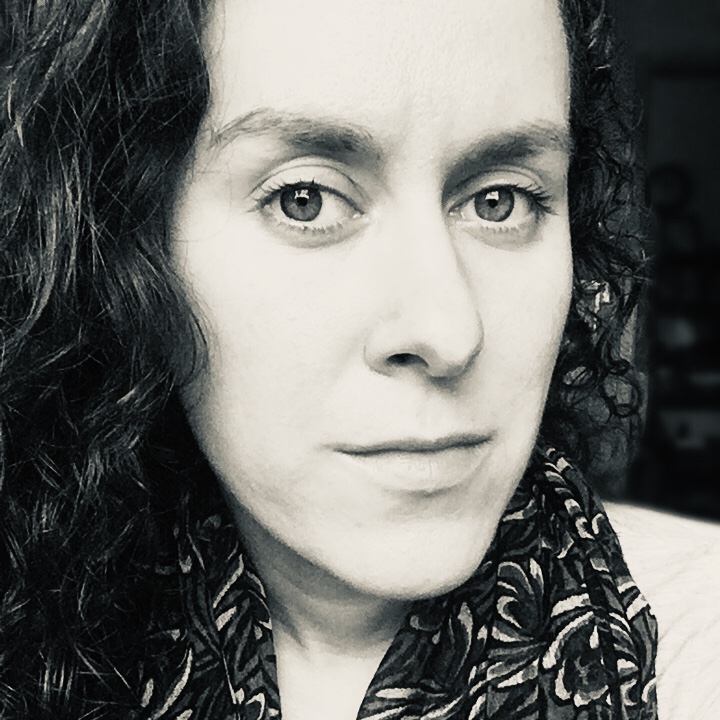
There are many tutorials for how to use either Portrait or Focus mode. For the photo at the top of this post, I took a quick picture using Instagram’s Focus feature in the CR office, slapped a filter on the photo, and cropped it into a close square with my face at the center. Check out the process below!
For some more interesting thoughts on author photos, we recommend the following articles:
“An Author Photo is Worth a Thousand Words” by Daisy Alioto
“A Picture Says it All or Does It? Judging an Author by Their Photo” by Jennifer Miller
“How Author Photos Change the Way We Read” by Dustin Illingworth

